How to Make a Sourdough Starter
Modern baker’s yeast was only introduced to the market in the early 1900s; before then fermentation of flour was used to capture wild yeast into a sourdough starter and leaven bread throughout the world. There is something quite so satisfying about being able to create that soft, chewy, crunchy crusted, delicious bread with literally just some flour, water and salt. In this blog I will share how anyone can make their own sourdough starter to produce beautiful sourdough bread.
Tools
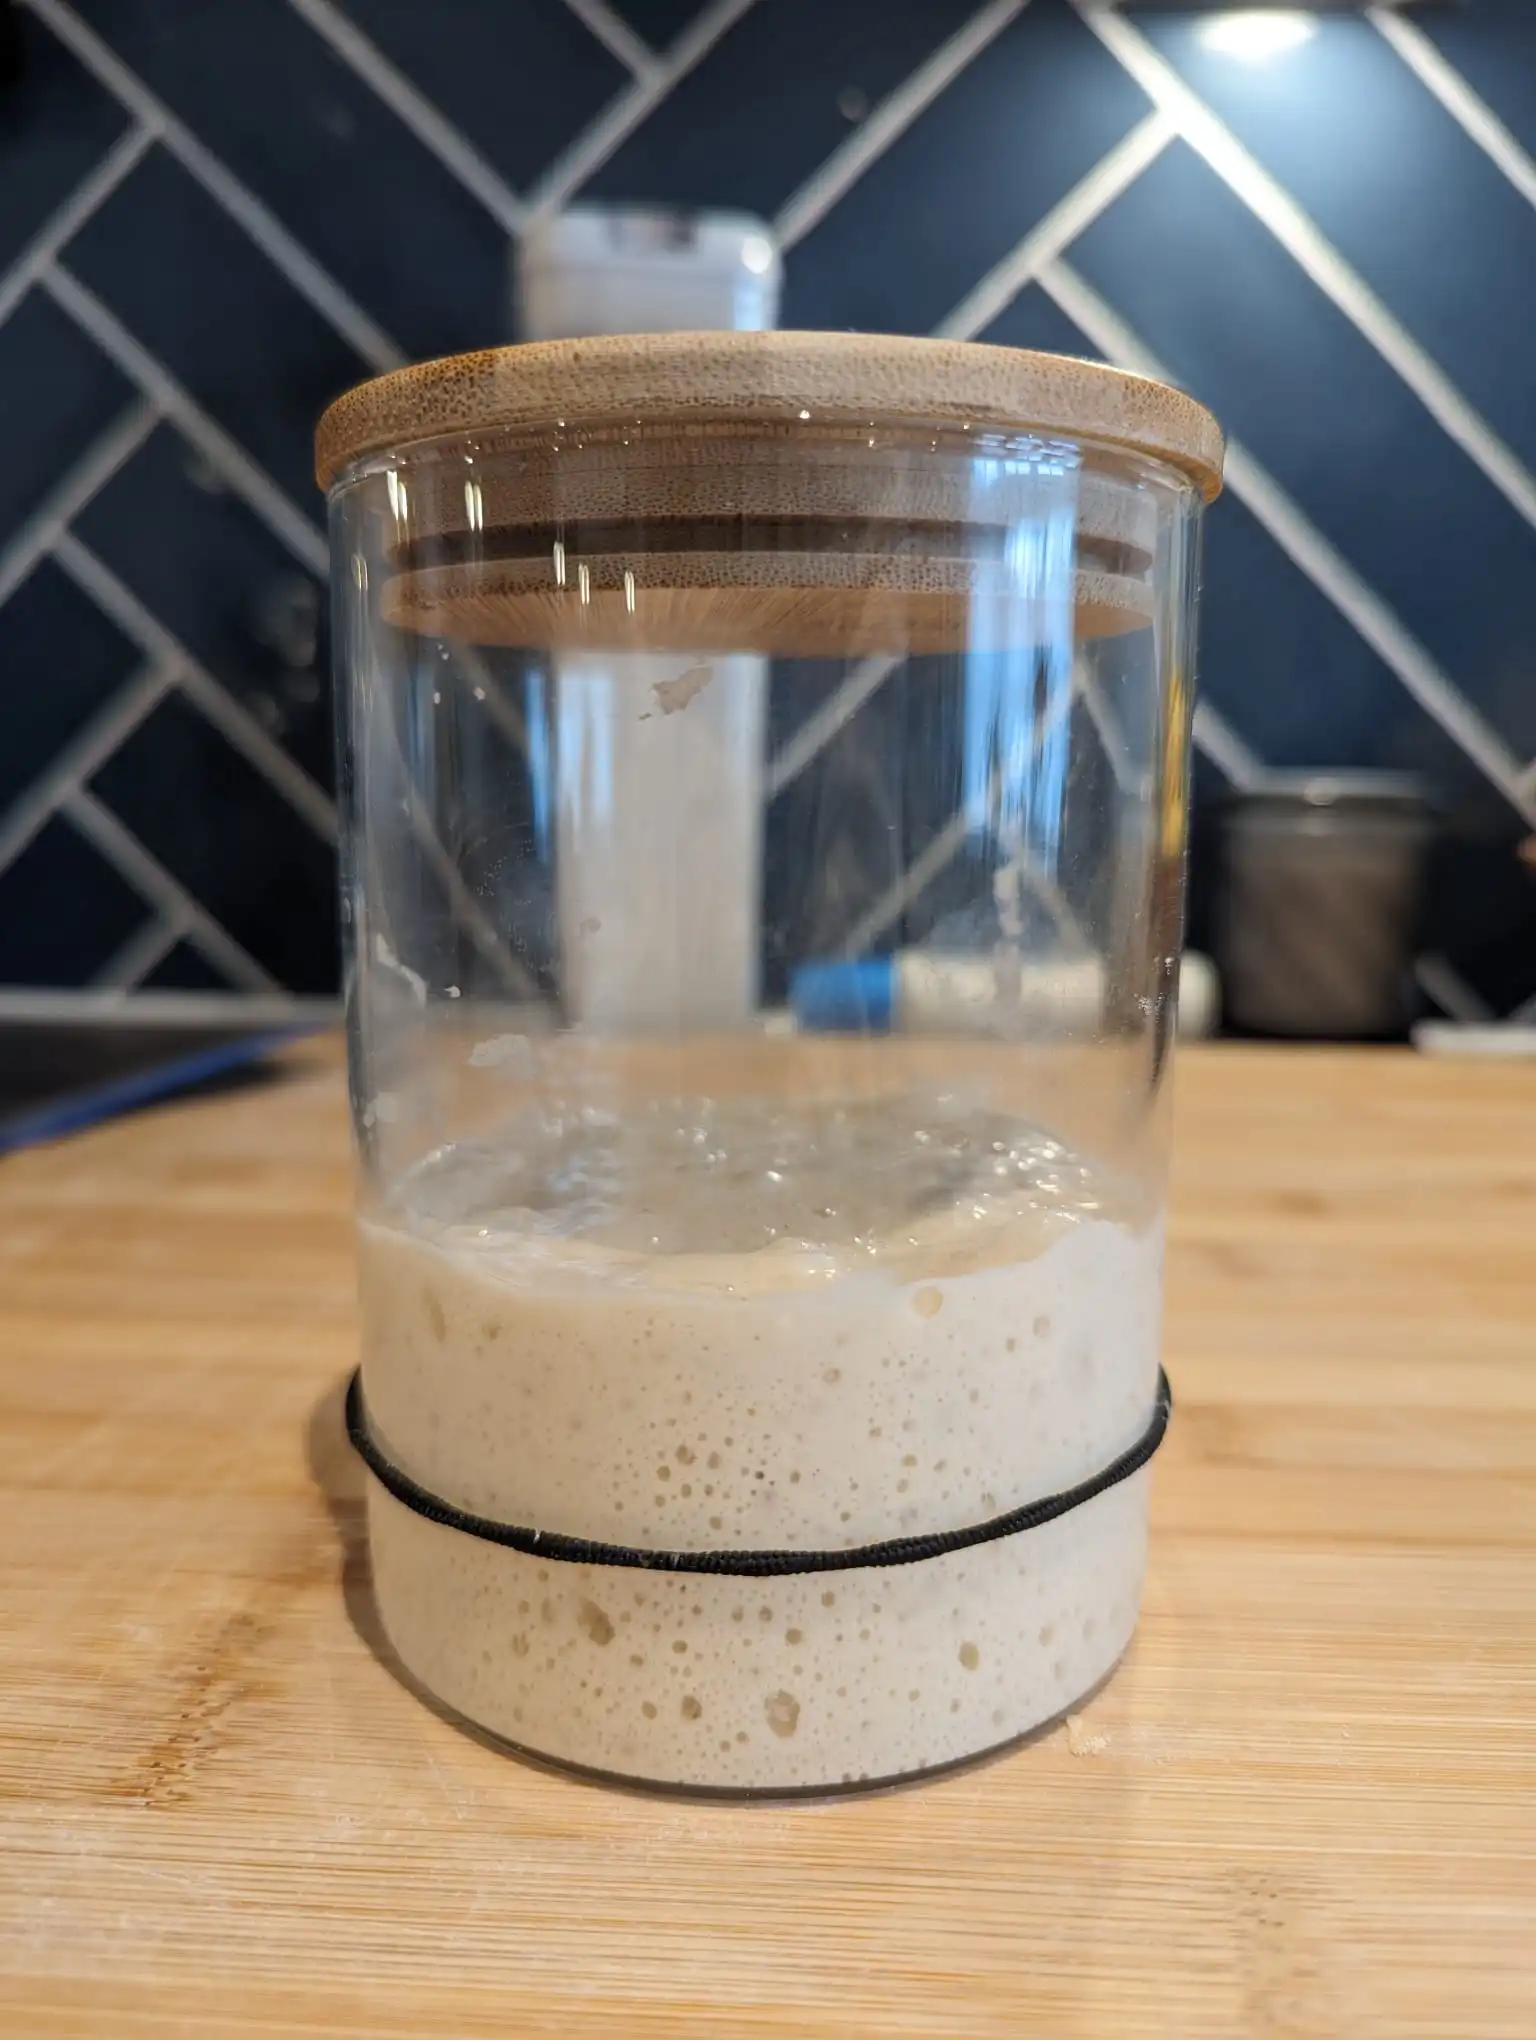
- A straight edge glass jar. When your sourdough starter is ready to bake with, it will start doubling in volume when fed; having your starter in a straight edge jar will make it easier for you to observe the change in volume. Make sure you remove the rubber seal to allow the gases to escape the jar.
- Digital kitchen scales.
- Silicone jar spatula. It is so much easier and tidier to use a silicone jar spatula to stir your starter and clean up the sides of the jar, which can help avoid mould.
- Contrary to popular belief, you can grow a starter in colder temperatures (unless your house is as cold as a fridge?). However, once your starter is established and you have mastered the art of sourdough bread, you can decide to invest in a warming device, which can help speed up the fermentation of your starter and dough. I have a Brod & Taylor folding proofing box, which I absolutely love. A cheaper option could be a heating mat with temperature control.
Ingredients
When I first grew my starter I used supermarket’s own bread flour, mainly because some of it does get wasted and that is the cheapest option, but you can use plain flour or a mixture of plain and wholemeal flour or plain and rye flour.
I have always used unfiltered, cold tap water to feed my starter.
Process
It will take between 7-14 days for your starter to be ready for baking, but I would wait at least 14 days to make sure your starter is strong enough to produce good bread. When you begin making your starter, make sure you will be able to feed it every day at roughly the same hour (does not need to be exact) every day for at least 14 days. Once your starter is ready, it can be placed in the fridge and fed on demand when you want to use it for baking. The main sign that shows your starter is ready is doubling in volume within 4-6 hours.
Day 1
Place your jar on the scale and then turn it on, or you can place it on the scale and press the tare button to make sure the scale reads zero. Add 50 grams of plain flour and 50 grams of water. Stir to combine and use a spatula to clean the sides of the jar. If the jar has a lid with a rubber band, remove the band and place the lid on the jar. When yeast and bacteria feed on the flour, they produce gases which need to be able to escape the jar or there could be a build up of pressure; removing the rubber band provides enough release for the gases. Leave the starter to rest for 24 hours.
Day 2
Remove 50 grams of sourdough starter from the jar and place it in a bowl; discard the rest of the starter and wash and dry your jar. The starter removed is called discard; before your starter is ready, discard must be disposed of, as it could contain harmful bacteria; however, when once your starter is ready you can keep discard in a glass jar in the fridge and use it to make discard recipes (see sourdough discard blog). After having discarded, add 50 grams of flour and 50 grams of water. Mix until combined, pour back into the jar and let rest for 24 hours. This process will be repeated every day until your starter is ready.
Day 3
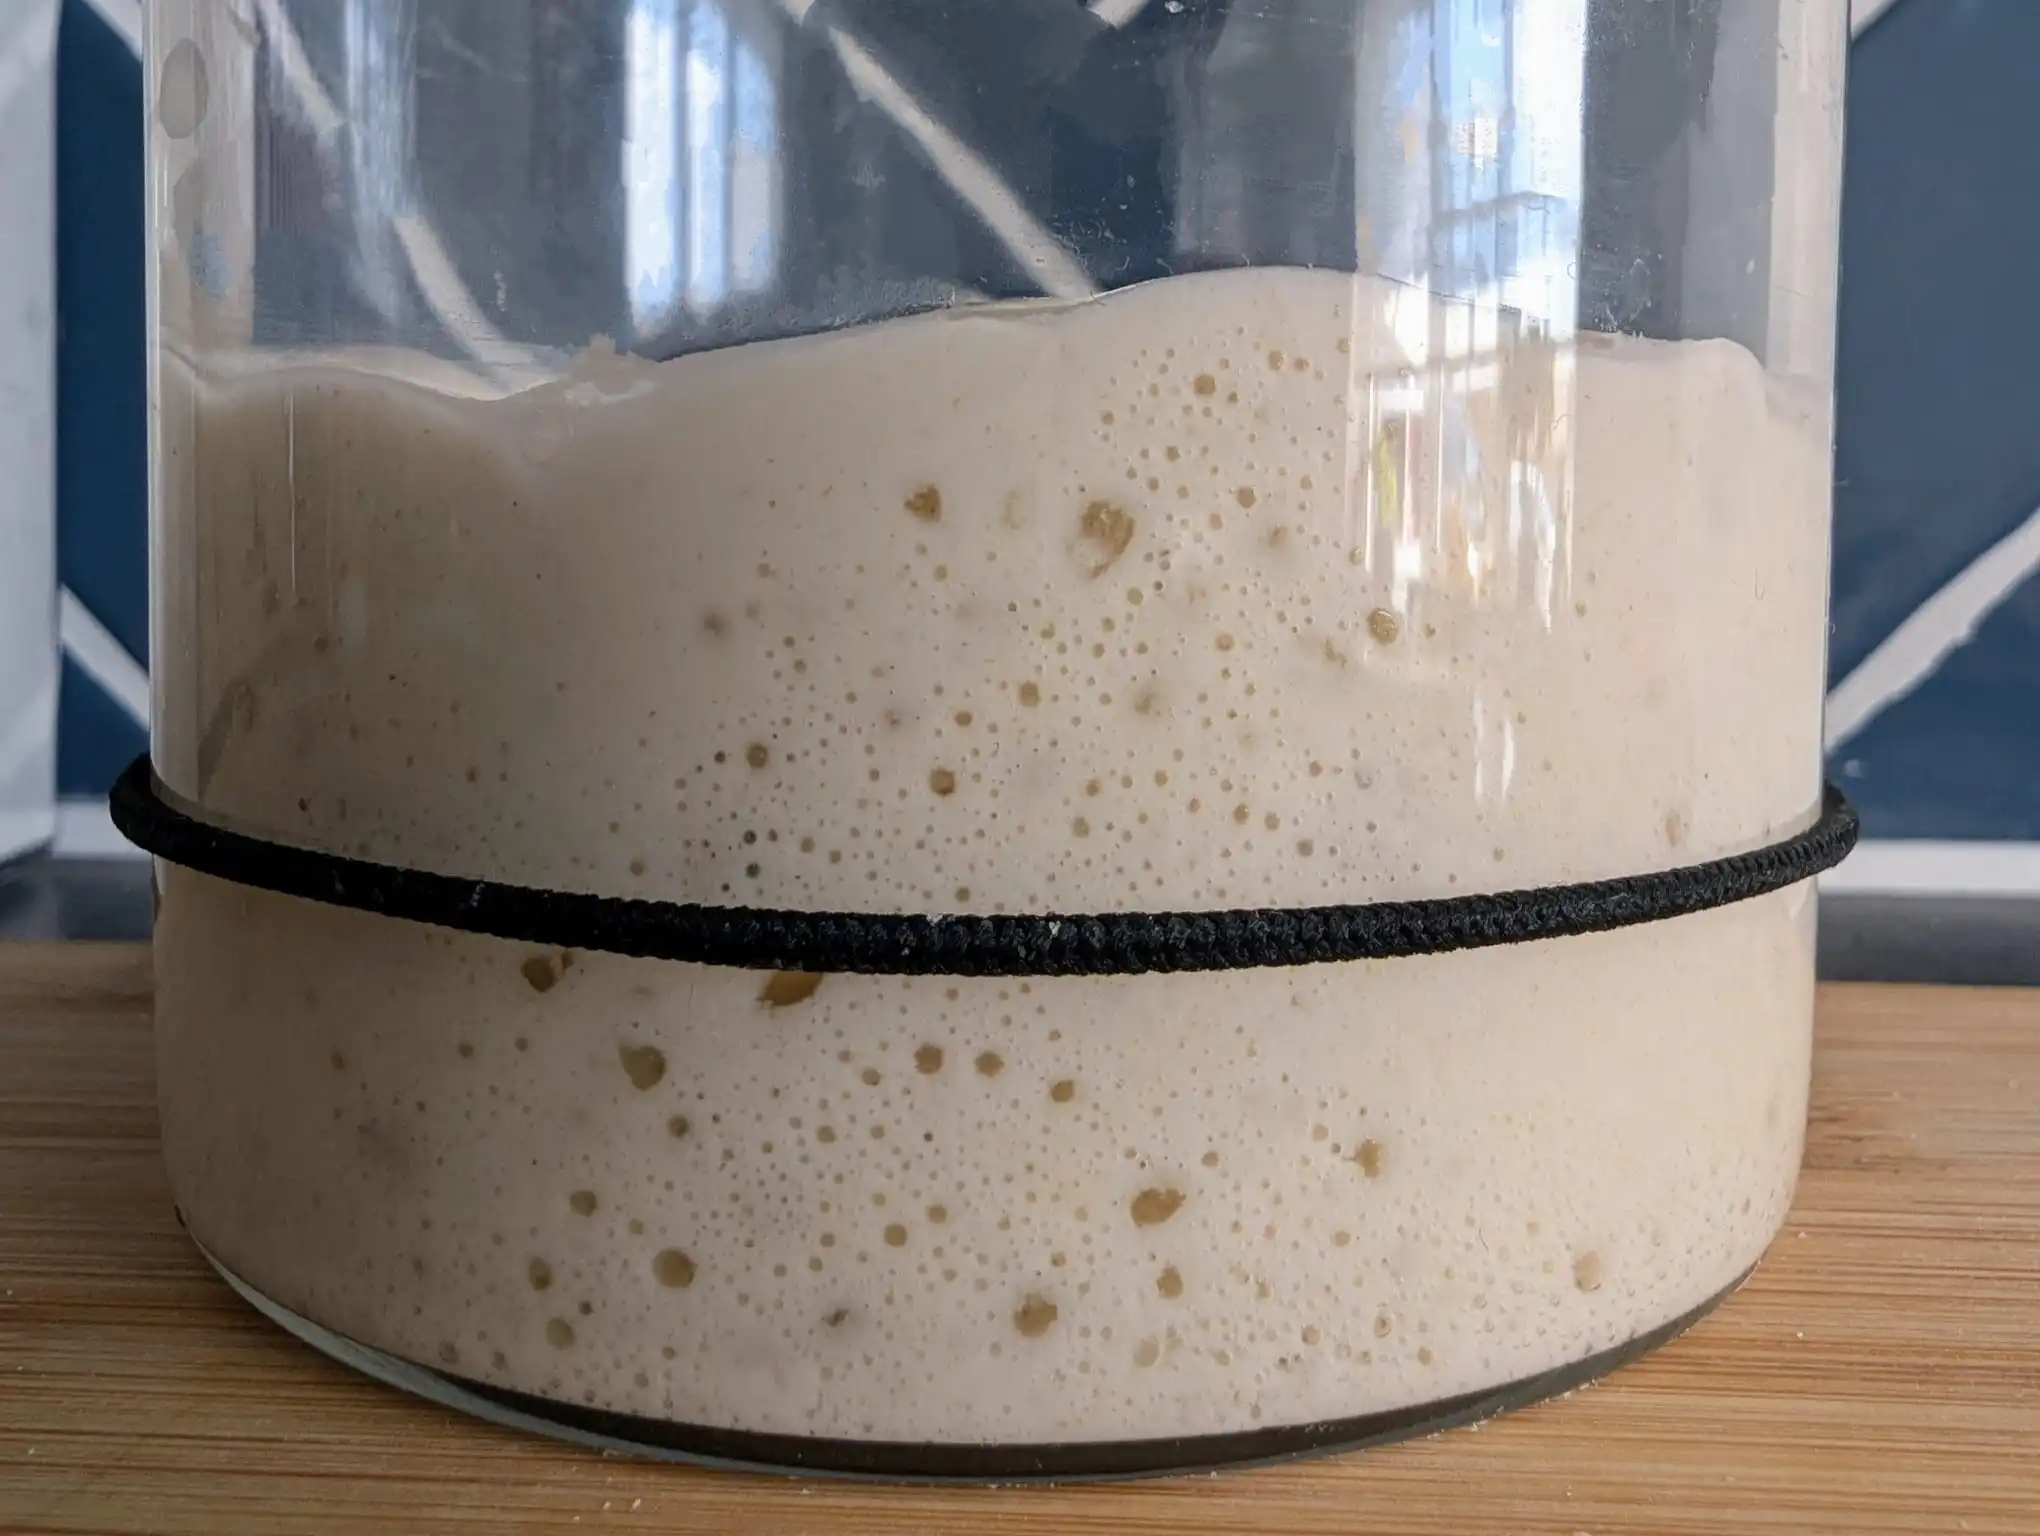
Around this day, you may be seeing some bubbles within your starter. This is not a sign of your sourdough starter being ready, it is simply the bacteria and yeast consuming the gluten and producing gases. As the fermentation continues the starter will become more acidic, making it inhospitable for bad bacteria, while the yeast will still be able to thrive. Repeat the feeding steps from day 2 and let rest for 24 hours.
Days 4-6
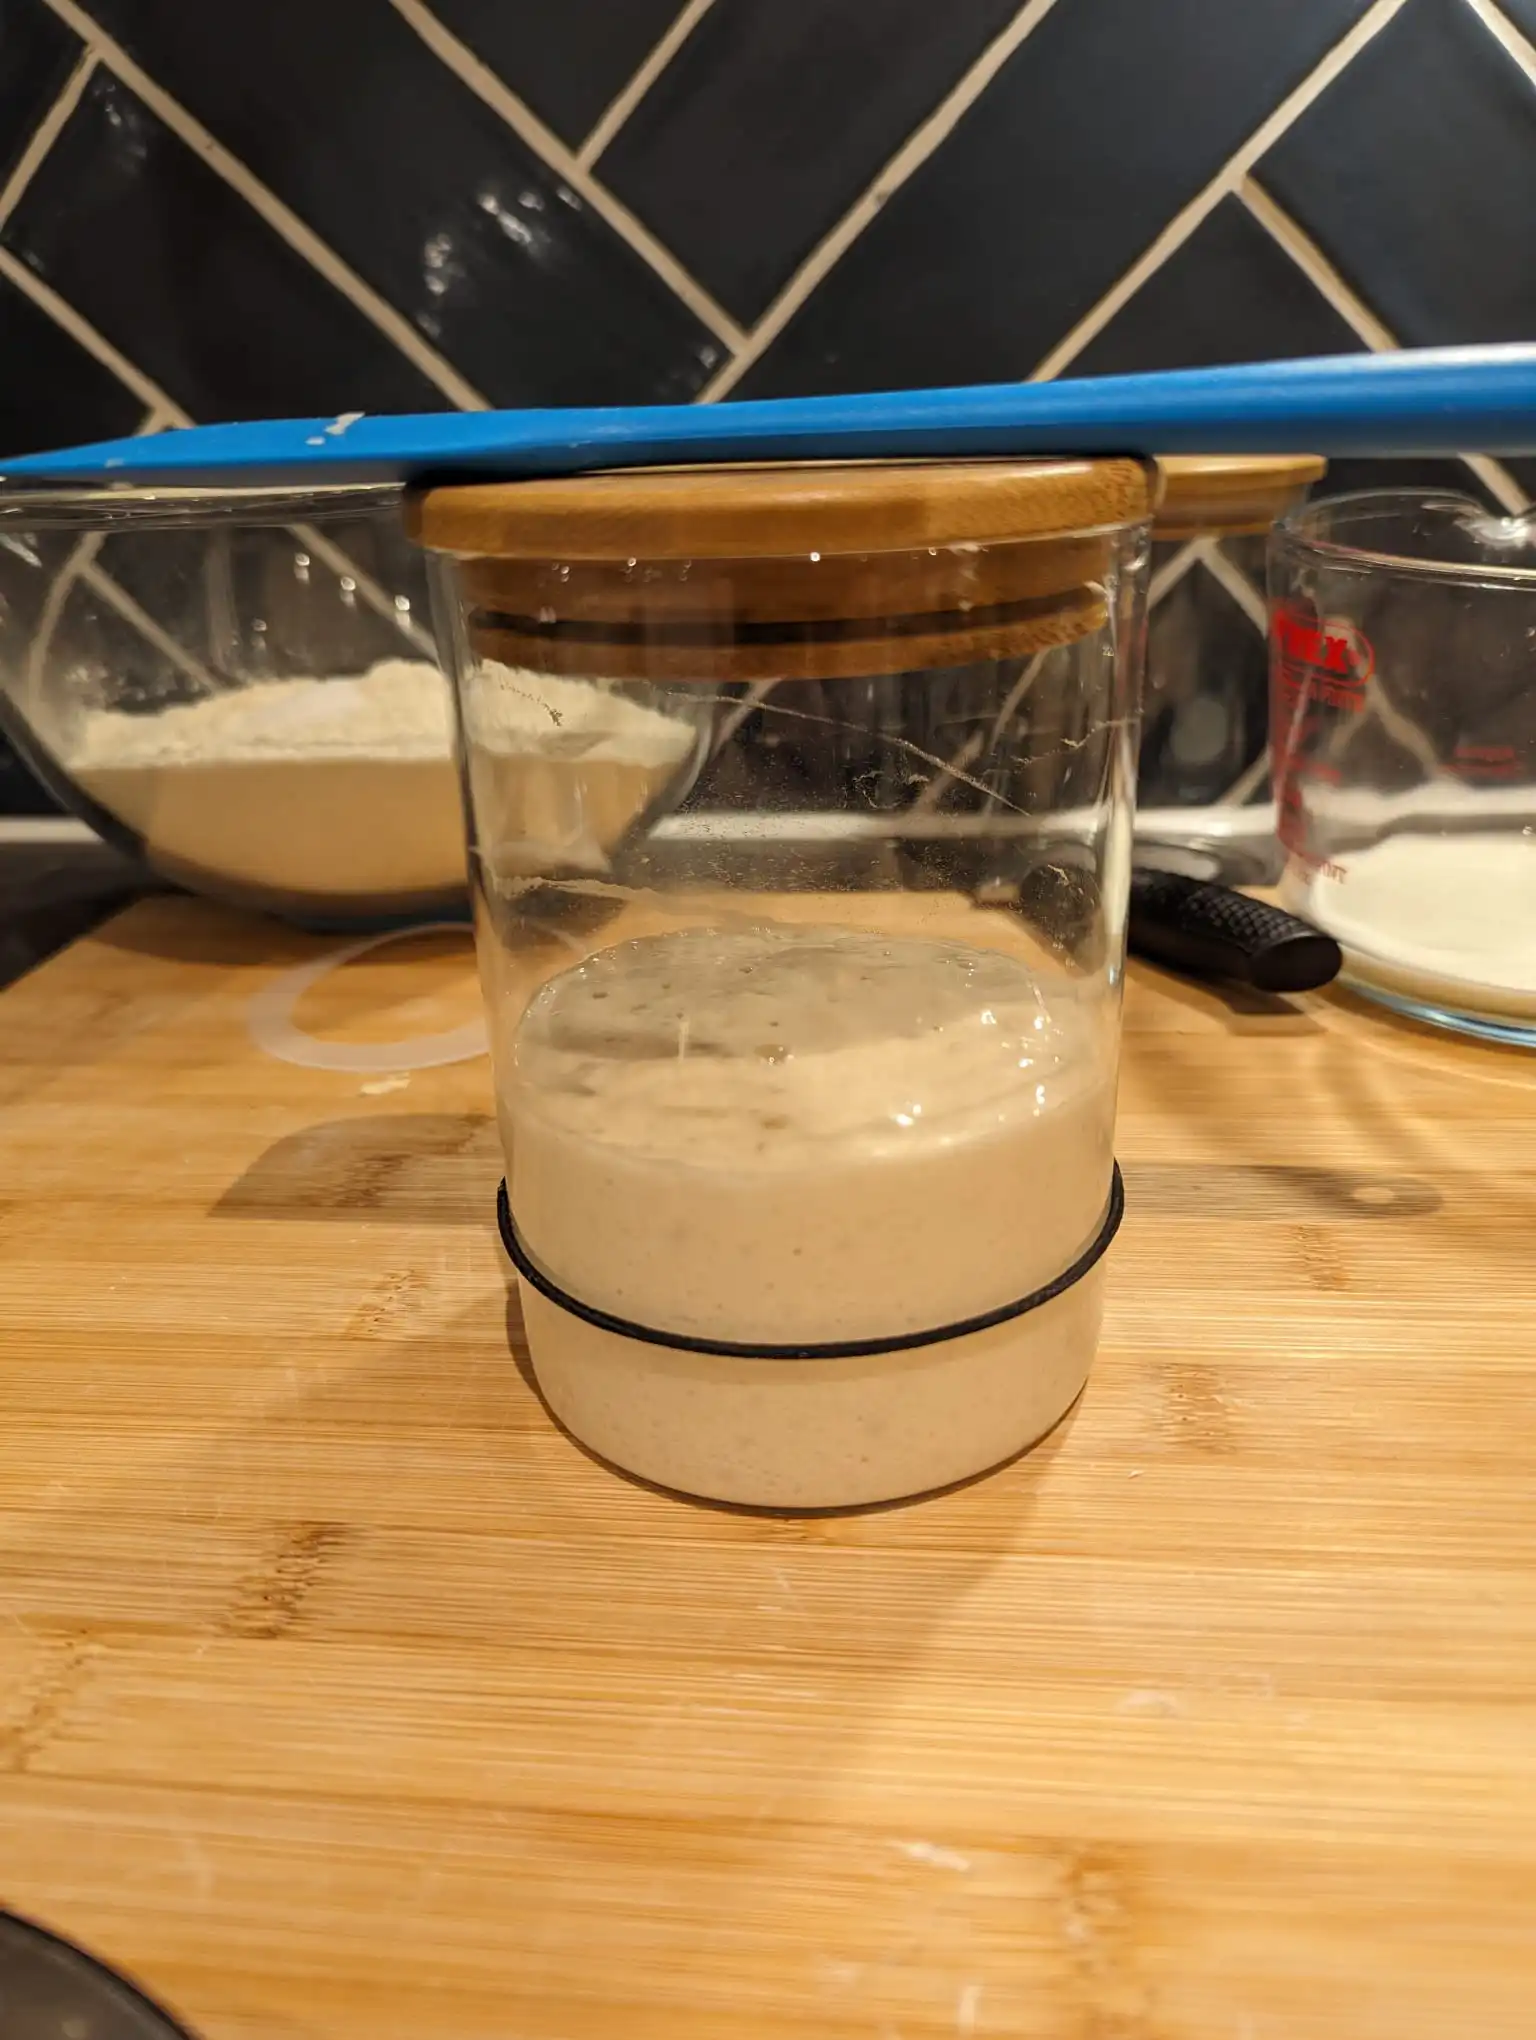
Keep the same feeding roughly every 24 hours. You may see some clear or greyish fluid on top of the starter; this is called hooch and it is just a sign that your starter is hungry and ready to be fed. Patience is key here: you may not see any bubbles or activity for a few days, but don’t get discouraged, your starter will be ready very soon. You can put a rubber band on your jar to indicate the volume of the starter after being fed, so you can monitor growth in volume.
Day 7
Your starter is ready when it consistently doubles in volume within 4-6 hours; this should occur between day 7-14. If at any time your starter develops mould or if you can see an orange/pink tint at the top you should discard your starter, clean your jar very thoroughly with soap and start anew.

Troubleshooting
If your starter does not seem to show much activity by day 7, make sure that the consistency of the starter is like a thick pancake batter. If the starter is too runny, it may struggle to rise efficiently: for the next feed, try to add a little extra flour to thicken the starter. If the consistency is right and the starter is still lacking activity, try to use wholemeal flour instead of plain flour for your next feed. Once your starter is ready, go check our sourdough page to attempt your first loaf!
How to Store Your Sourdough Starter
If you bake very often (more than 3 times a week), you can keep your starter on your kitchen counter and feed it every day. If you bake less than this you can store your sourdough starter in the fridge, with the rubber seal on the lid. When you want to bake, simply remove the starter from the fridge and feed it the amount you require for your bake. After removing the required amount, place the unfed starter back in the fridge. It is probably best to feed the starter at least once a week, to make sure the yeast population is doing well and to avoid mould and bacteria.