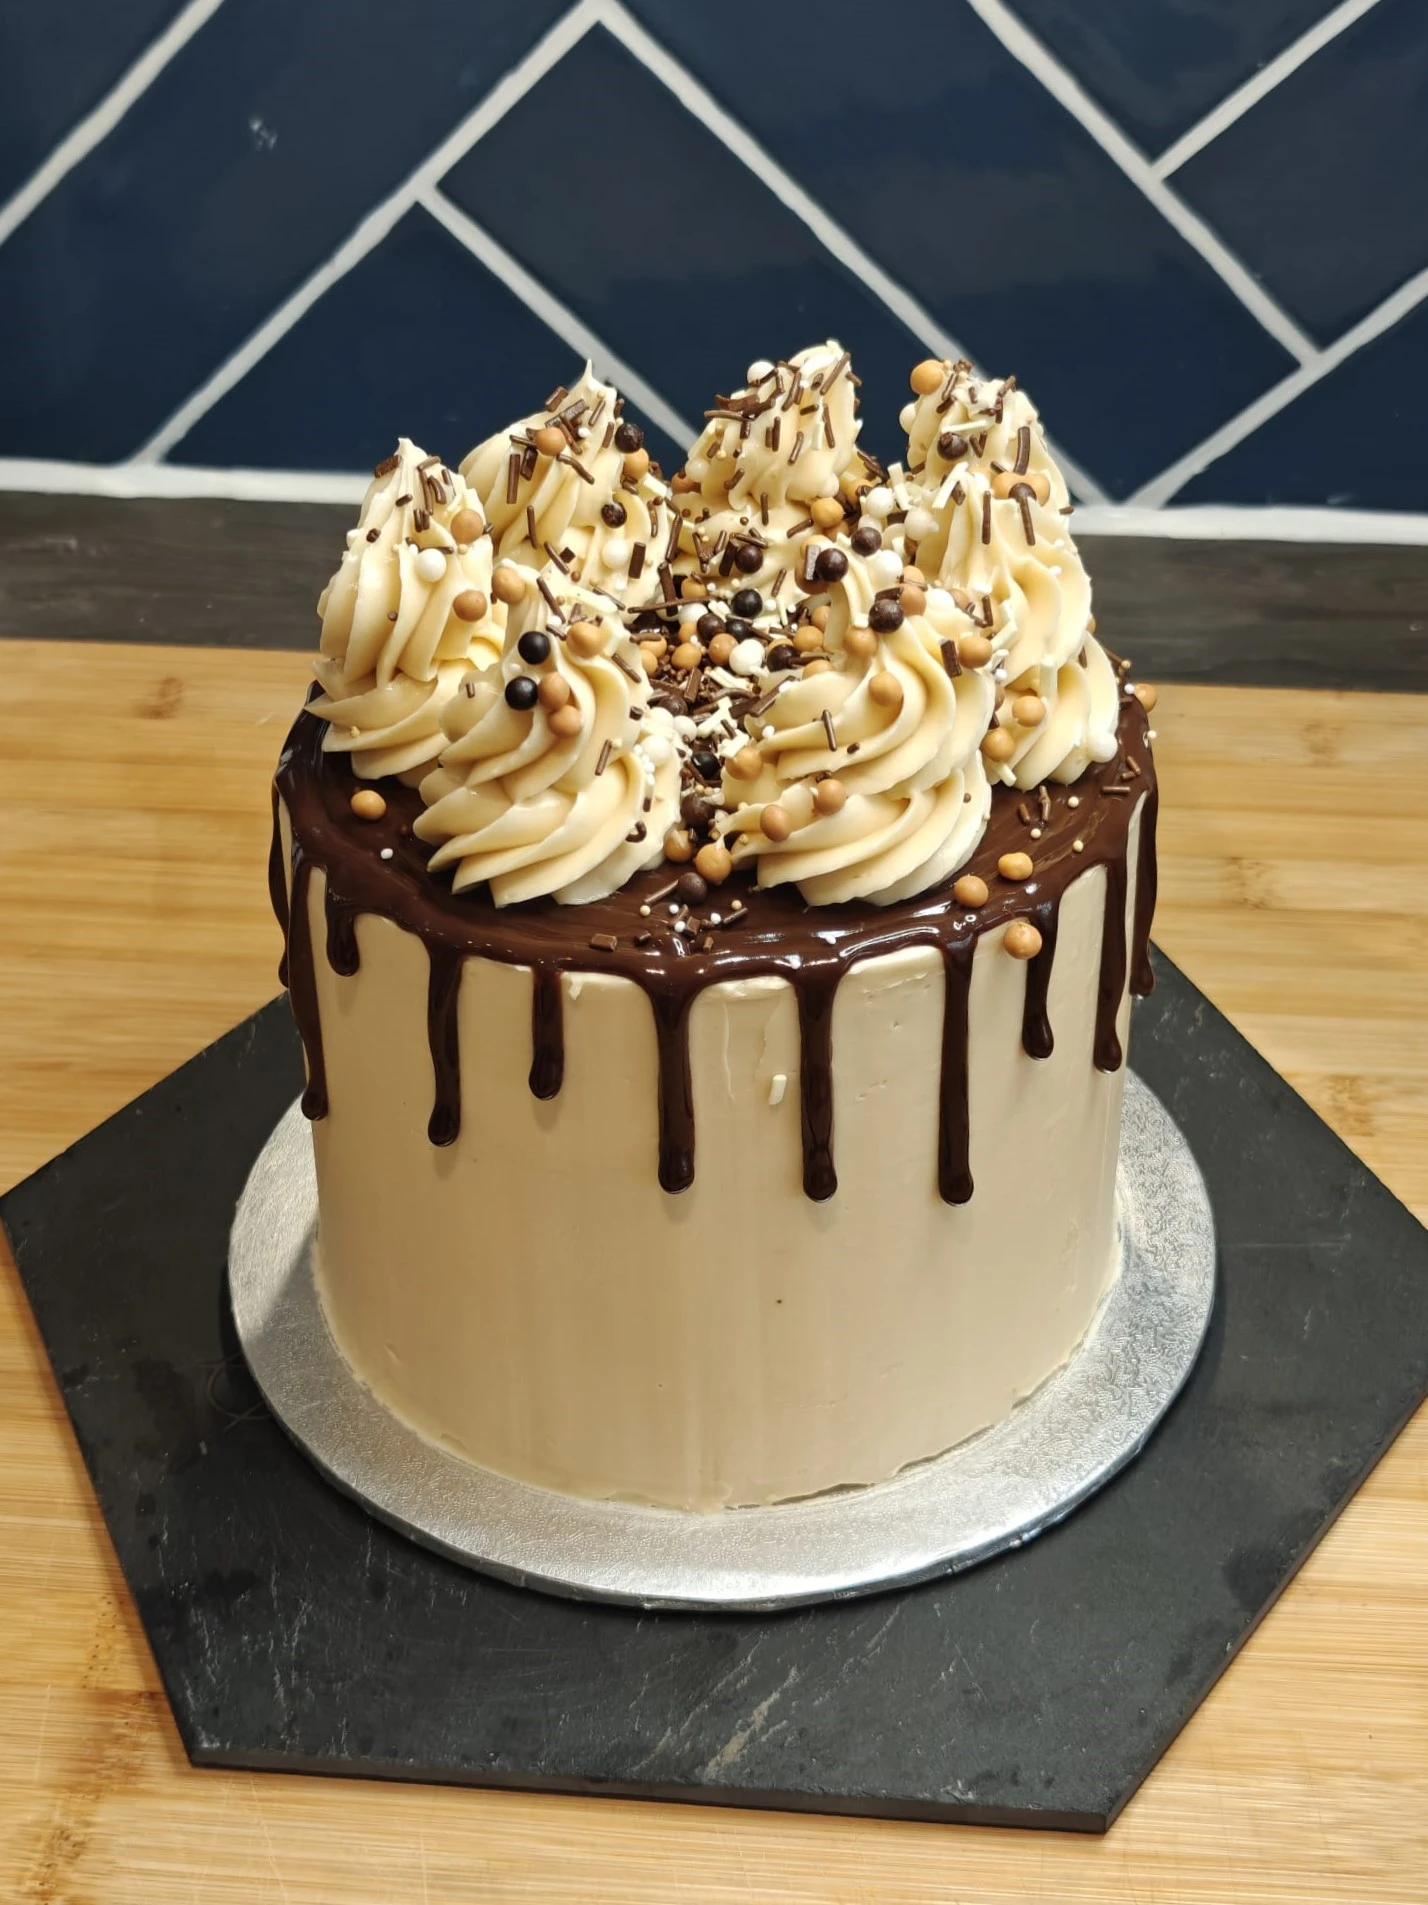
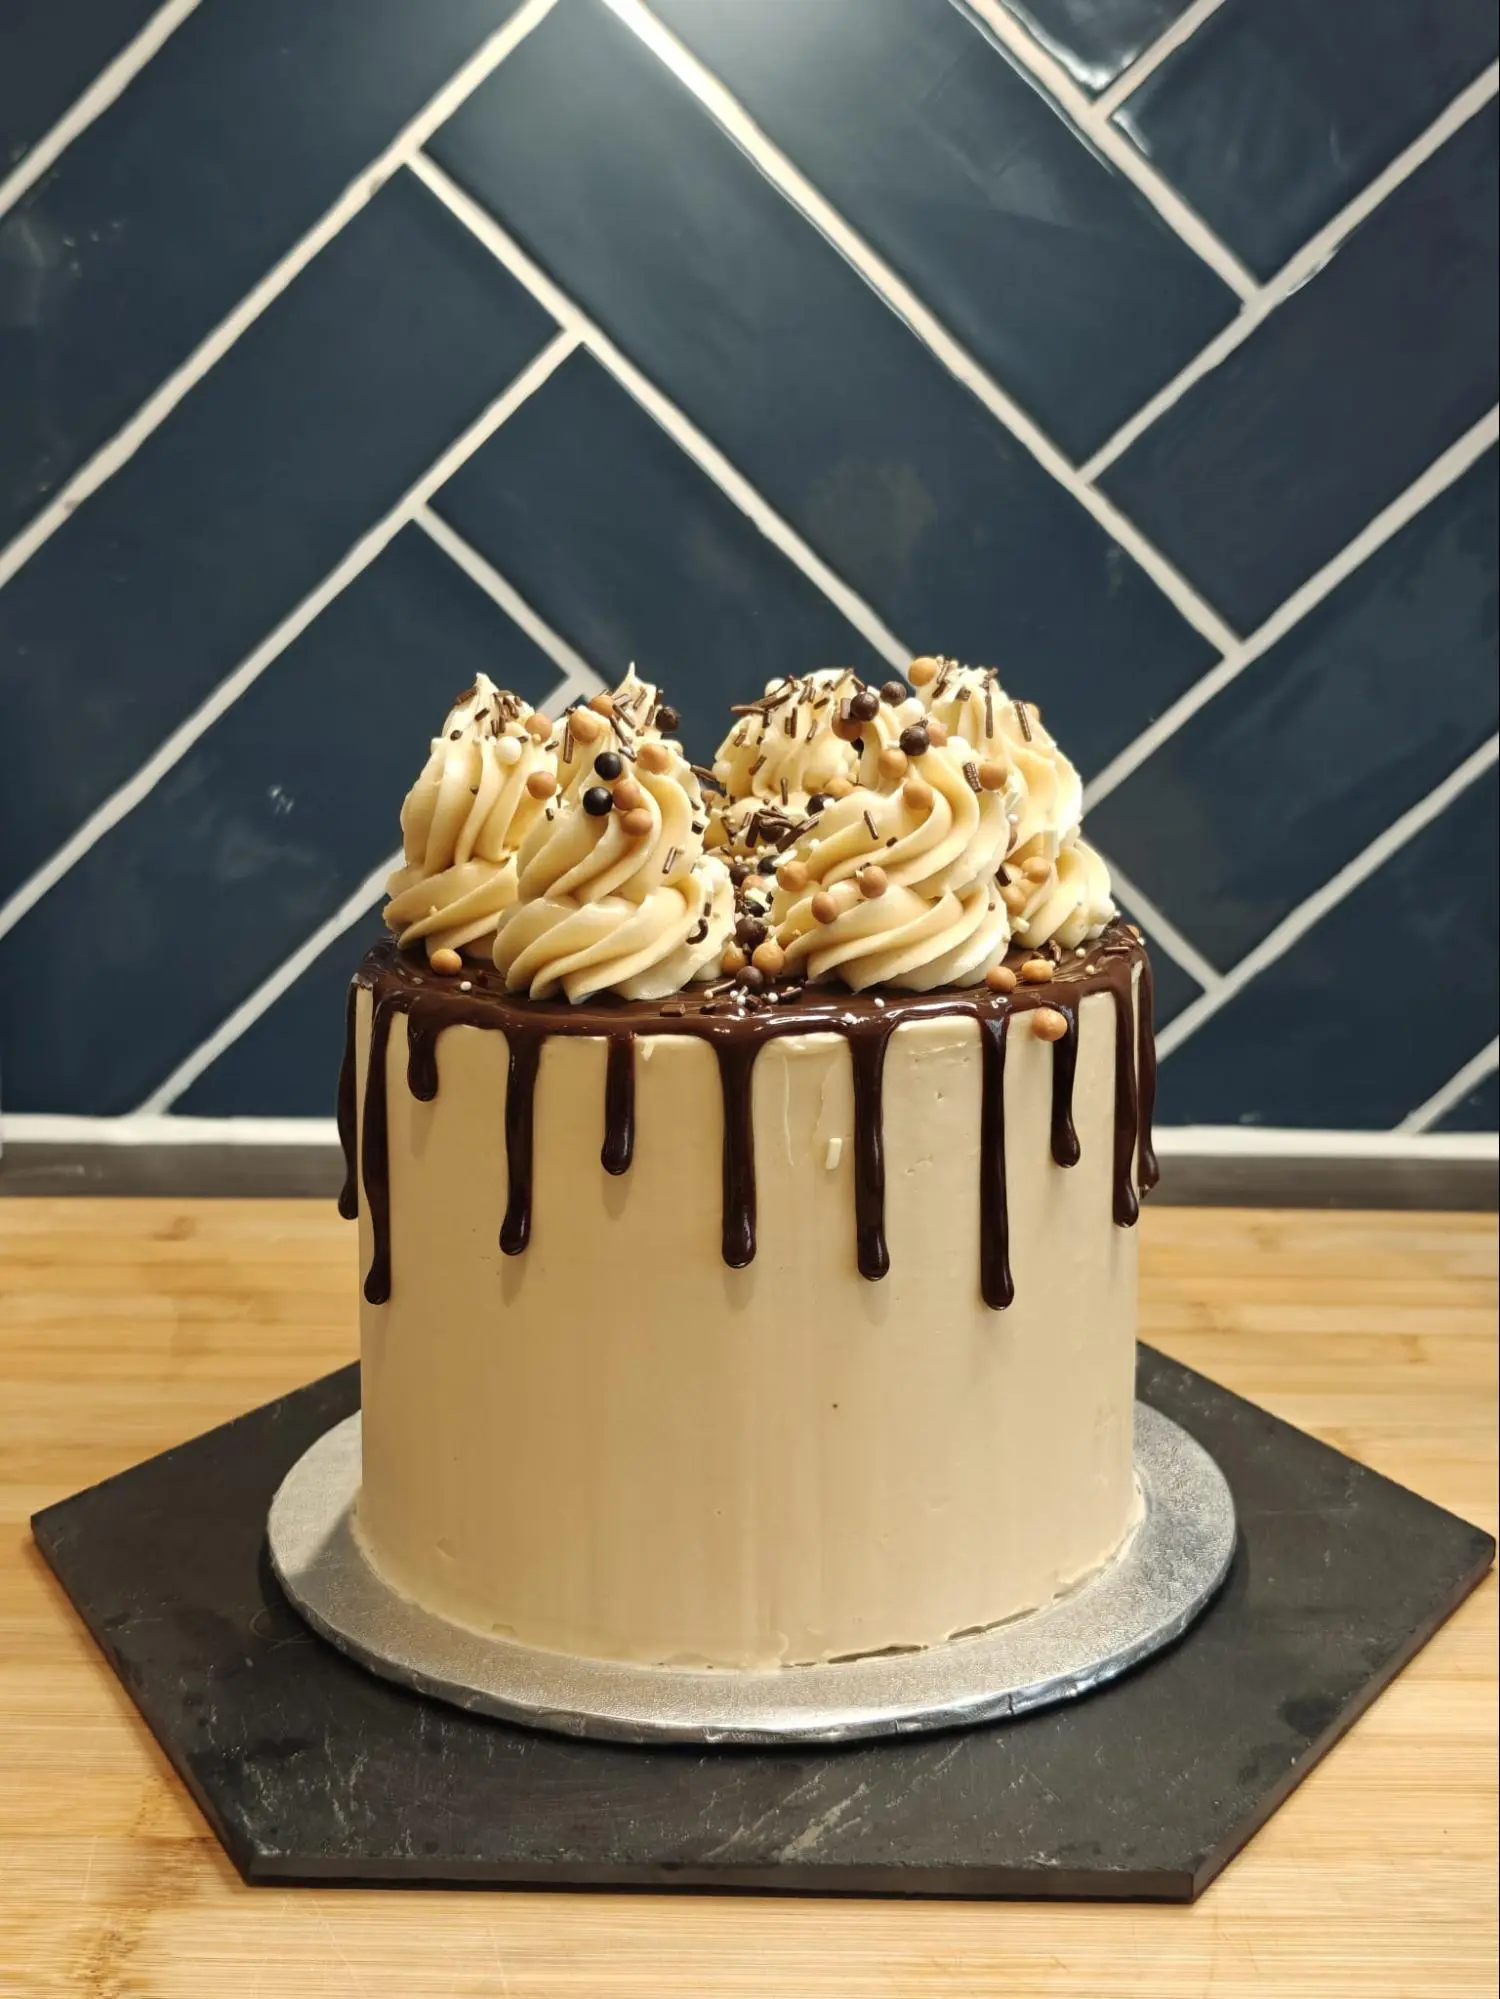
Chocolate and Salted Caramel Celebration Drip Cake
This chocolate cake with salted caramel Swiss meringue buttercream is pure indulgence.
The cake is rich and moist, while the buttercream adds a smooth, sweet, and salty touch that perfectly complements the chocolate. Whether it's for a special occasion or just because you’re craving something sweet, this cake is sure to impress. Let’s get started on this delicious treat!
Ingredients
Sponge
280g unsalted butter
280g light brown sugar or caster sugar
280g eggs (~5 eggs)
225g self raising flour
55g cocoa powder
½ TSP vanilla extract
Salted Caramel Swiss Meringue Buttercream
284g (for caramel) + 284g (for swiss meringue) granulated sugar
120g water
150g double cream
2 tsp vanilla extract
1 tsp salt
8 large egg whites
600g butter at room temperature
Chocolate Ganache Drip
45g milk chocolate
45g dark chocolate
90g double cream
Sprinkles of choice
Instructions
Sponge
-
Preheat the oven to 170°C static/150°C fan/340°F and line two 6 inch/15cm cake pans with greaseproof paper (I normally only line the bottom).
-
In the bowl of a stand mixer, beat the sugar and butter together for a few minutes until light in colour and fluffy.
-
Add the rest of the ingredients and mix until just combined.
-
Evenly divide the mixture between the two baking tins (I like to weigh them for precision).
-
Bake for ~60 minutes, or when a skewer inserted in the middle of the cakes comes out clean (I like to swap the position of the cakes halfway through to make sure they bake evenly).
-
Leave to cool in the tins for 10 minutes then take out and cool completely on a cooling rack (see below for tips on how to store).
-
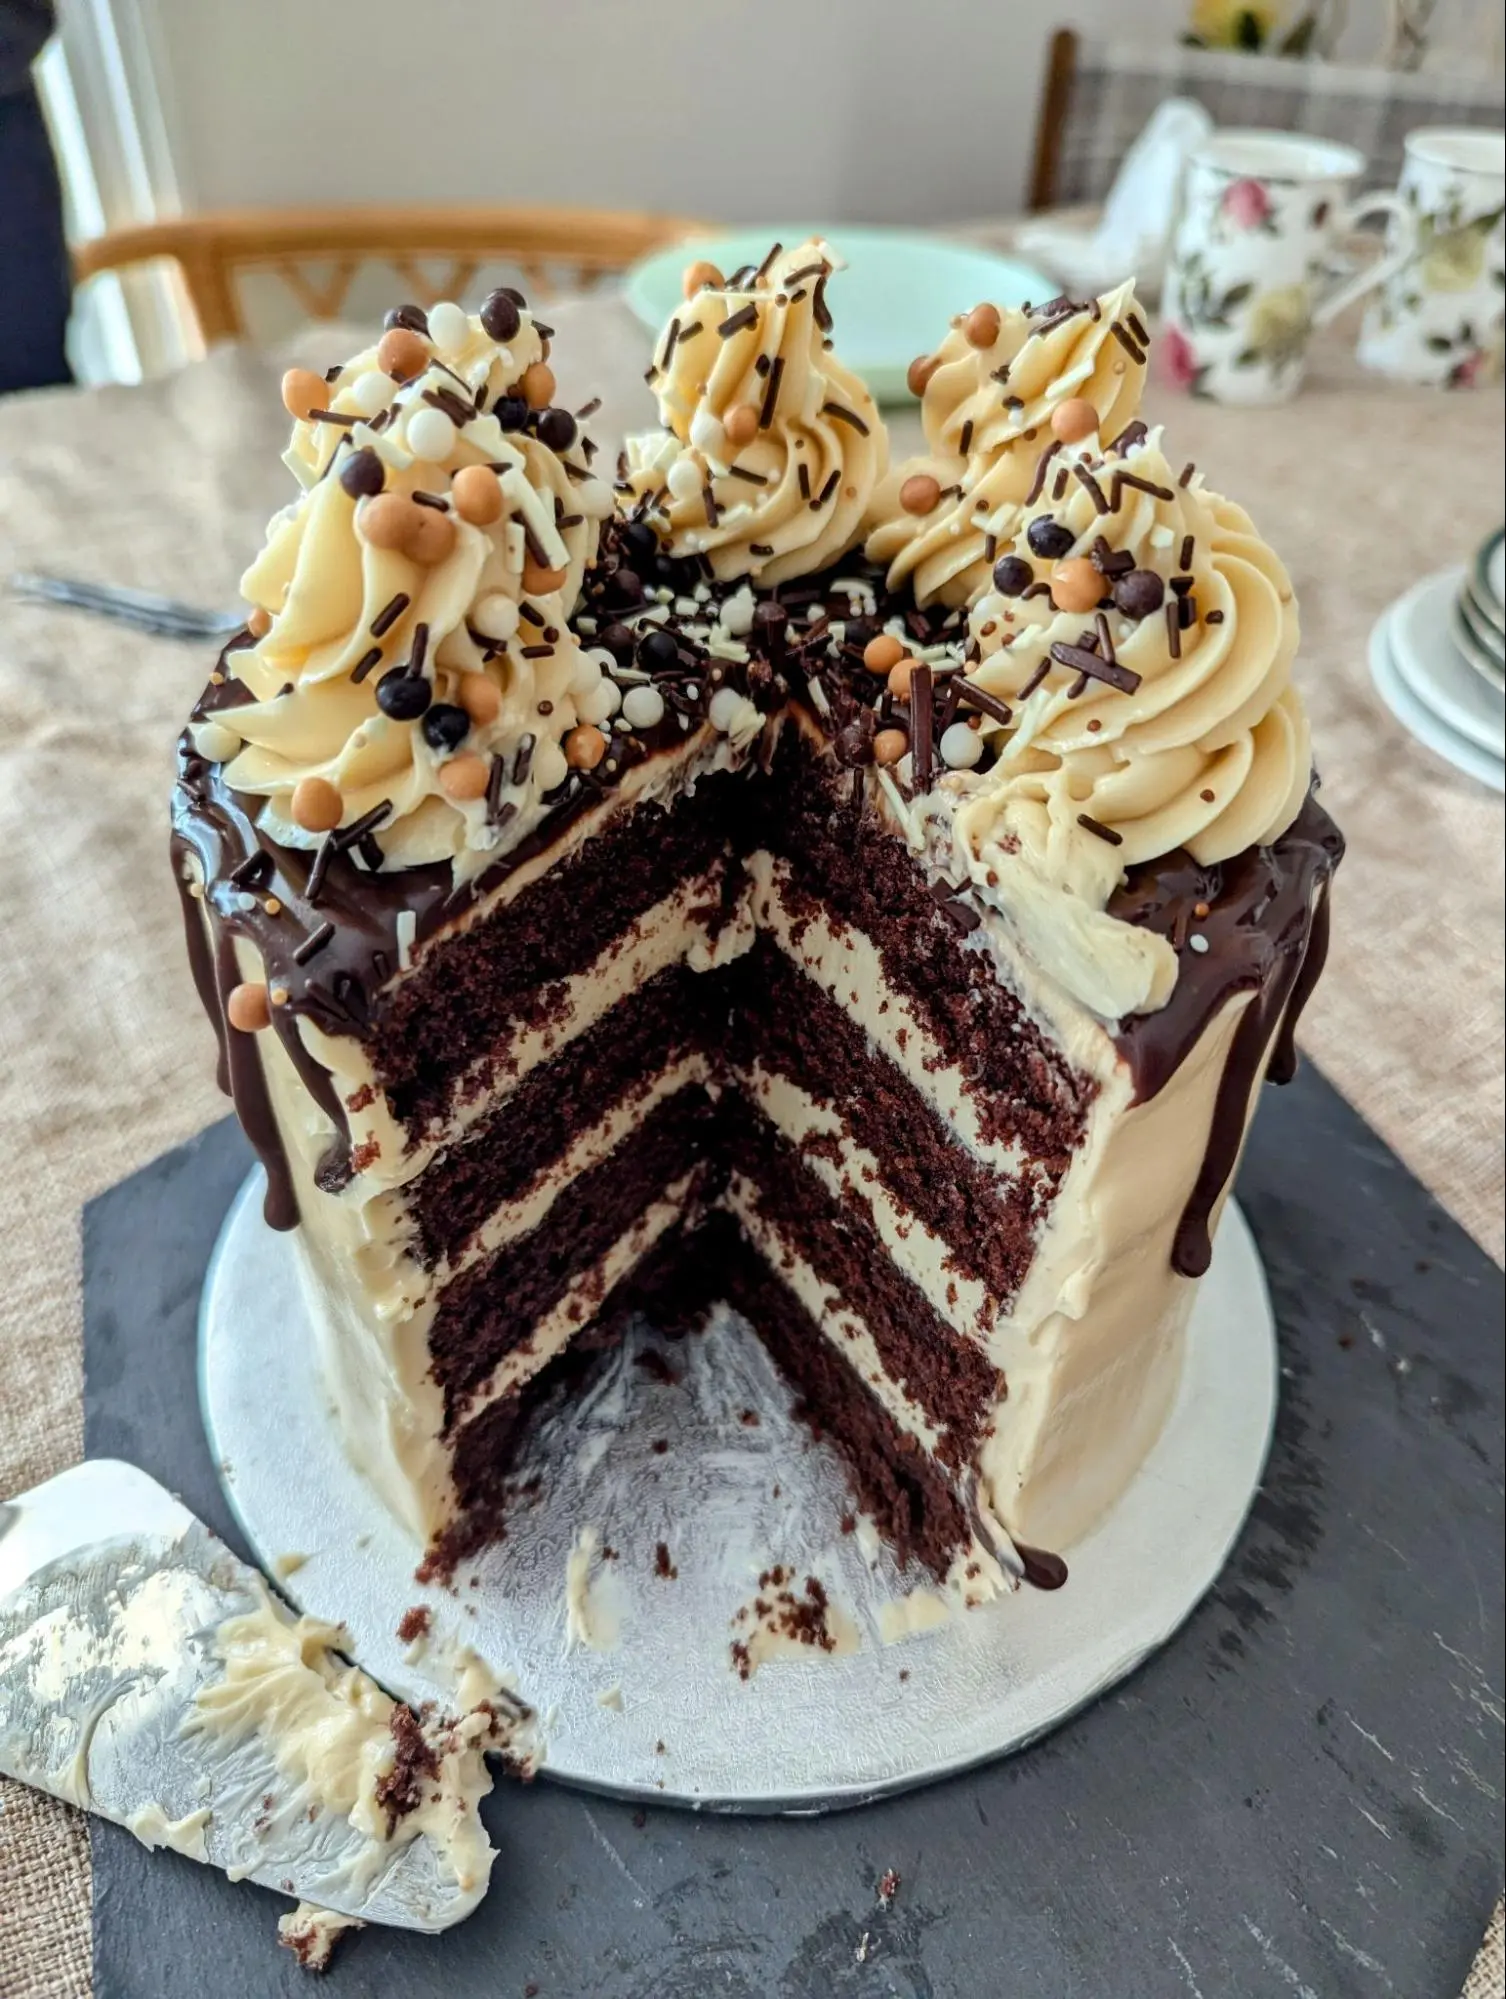
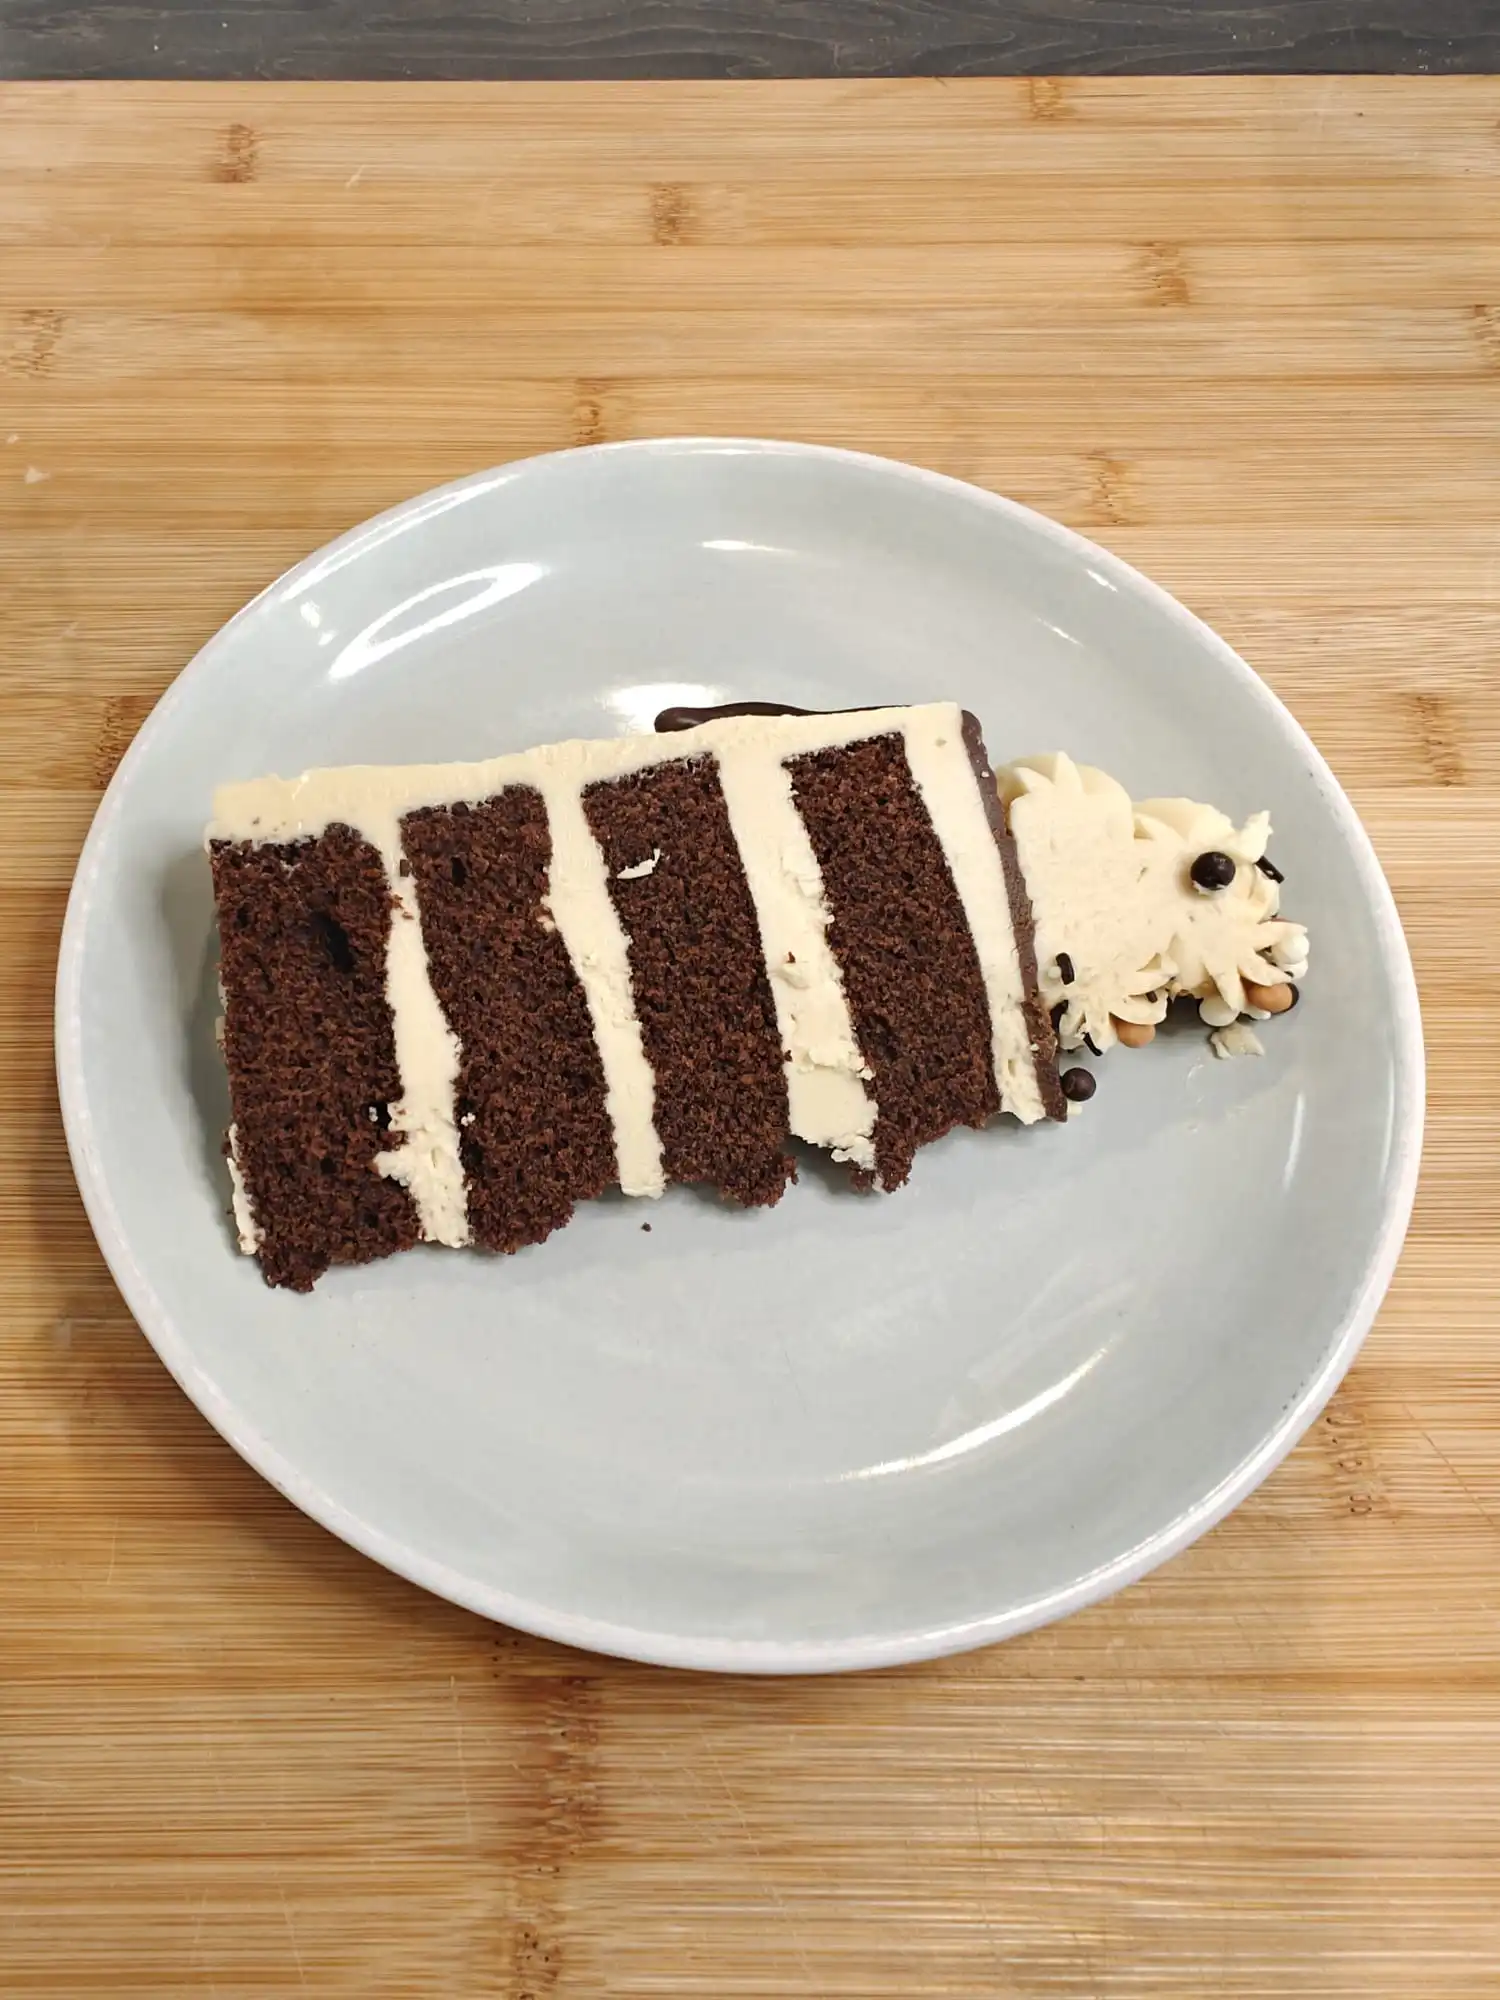
Once completely cool, cut the cakes in half to obtain 4 cake layers.
Salted Caramel Swiss Meringue Buttercream
-
To make the salted caramel place the sugar and water in a heavy bottom saucepan and bring to the boil over medium heat. Once boiling keep on the heat until it turns a deep amber colour (see below tips to prevent the sugar from crystallising and how to fix it if it does).
-
Remove from the heat and stir in the cream until combined. Add the vanilla extract and salt, stir and leave to cool to room temperature.
-
Place the sugar and egg whites in the bowl of a stand mixer then place the bowl over a pot of water boiling on the hob.
-
Whisk the egg mixture until it reaches ~71°C/160°F or until you cannot feel any sugar grains between two fingers. Make sure you whisk constantly to prevent the egg from cooking.
-
Place the bowl on the stand mixer with the whisk attachment and whisk until stiff peaks form ~10 minutes. Once I reach this stage, I like to place the bowl in the fridge to cool down before adding the butter.
-
When the meringue has reached room temperature, place the bowl back on the stand mixer and add the butter a little at a time until fully combined (see below for tips and troubleshooting).
-
Once all the butter is incorporated, add the caramel sauce and mix until combined.
Assembling the Cake
-
Place a little drop of buttercream in the middle of a cake board and then place the first sponge layer on it. The buttercream will prevent the cake from sliding around.
-
Add a layer of buttercream either using a piping bag or a spatula then stack the next sponge layer on. Repeat for the rest of the layers.
-
To crumb coat the cake cover the top and sides of the assembled cake with a thin coat of buttercream and place in the fridge for at least an hour.
-
Once the crumb coat is set, ice the top and sides of your cake using a piping bag or spatula. Use a metal scraper to smooth the icing (see below for tips) then place in the fridge for at least an hour or until set.
Chocolate Ganache Drip
-
Place the chocolate and cream in a bowl over a pot of boiling water and stir until completely melted
-
Let cool for ~10 min
-
With a piping bag or spoon drip the chocolate ganache over the edge of the cake. Start from the sides and then fill in the centre.
-
Put in the fridge for 30 min until the ganache is set, pipe your buttercream decorations on top and drizzle with some sprinkles
Tips and Tricks
Sponge Cake
I use these level baking belts to ensure my cakes come out with a flat top and moist edges. If you do not have any of these, go check out my blog on how to make your own with just aluminium foil and some kitchen towel.
I use a serrated bread knife to cut my sponges in half, but if you struggle to get a straight cut, you can use one of these cake levellers.
Swiss Meringue Buttercream
Now I have had crystallised caramel MANY times! And here is what I have learnt from it.
If possible, use a heavy bottom pan with straight edges; this ensures a more even heat distribution, so that all the caramel browns at the same time.
Do not stir the caramel; if needed due to uneven browning you can gently swirl it around.
Keep a small ramekin of water and a pastry brush at hand. If any sugar crystals form on the edges of the pan, use the wet brush to melt them before they start a chain reaction and crystallise all your caramel.
If the caramel does crystallise,no need to throw it away! Simply add some water to melt the sugar crystals and start again. You can also do this if the caramel crystallises after adding the cream.
Swiss meringue buttercream might seem complicated at first, but there is not a lot that can go wrong.
First of all make sure that the bowl of your stand mixer and the whisk do not have any grease on them, as this can prevent the egg whites from whisking. I normally just wash them with dish soap and dry them, but it can be helpful to wipe them with some kitchen roll wet with vinegar or lemon juice to get rid of tough grease.
Ensure that none of the egg yolk gets into your egg whites. To avoid this I crack my eggs one by one into a separate small bowl and pour the egg whites into the bowl of the stand mixer. This way, if I get some yolk into one of the egg whites I can just put it aside for something else, instead of ruining the whole batch of egg whites.
If the butter is too cold when adding it to the meringue, it can look like the buttercream is curdled. This is not a problem, you can just keep mixing it and as the butter warms up, it will just incorporate into the meringue.
If the meringue is too warm when adding the butter, the buttercream may turn into a soupy mess. Not to worry! Simply place the bowl in the fridge for 15 minutes and then beat again. This should fix it.
Assembling and Decorating
When smoothing the icing I normally use a kitchen blow torch to heat up my metal bench scraper to achieve a smoother finish. If you do not have one of these you can run a metal scraper under hot water, then quickly tap dry it with a kitchen towel.
Make sure the buttercream is completely set before adding the chocolate ganache drip, otherwise the ganache will melt the buttercream and slide right off to the bottom of the cake.
Before applying the chocolate ganache drip, I like to try it out on an upside down saucepan to make sure the consistency is not too runny or gloopy. If the ganache is too runny, let it cool for another 5 minutes and check again; if it is too gloopy, warm it up in the microwave for 10-15 seconds at a time until you reach the right consistency.
Make Ahead and Storage
Once baked, you can tightly wrap the sponge cakes in cling film and store at room temperature for 2 days, or in the fridge for up to 5 days. You can also further wrap the cakes in aluminium foil and freeze for up to 3 months. Thaw in the fridge overnight before using.
Swiss meringue can be kept at room temperature for 2 days in an airtight container in a cool place. It can be kept in the fridge for a week or frozen for up to 3 months. If refrigerated, just bring to room temperature and beat again before using. If frozen, thaw it in the fridge, then bring it to room temperature and beat before using.
You can store the assembled cake at room temperature under a cake cloche in a cool place for 2 days or in the fridge for 5 days. I recommend keeping it in the fridge if the weather is warm; however, swiss meringue buttercream tastes best at room temperature, so take the cake out of the fridge for a while before eating it.